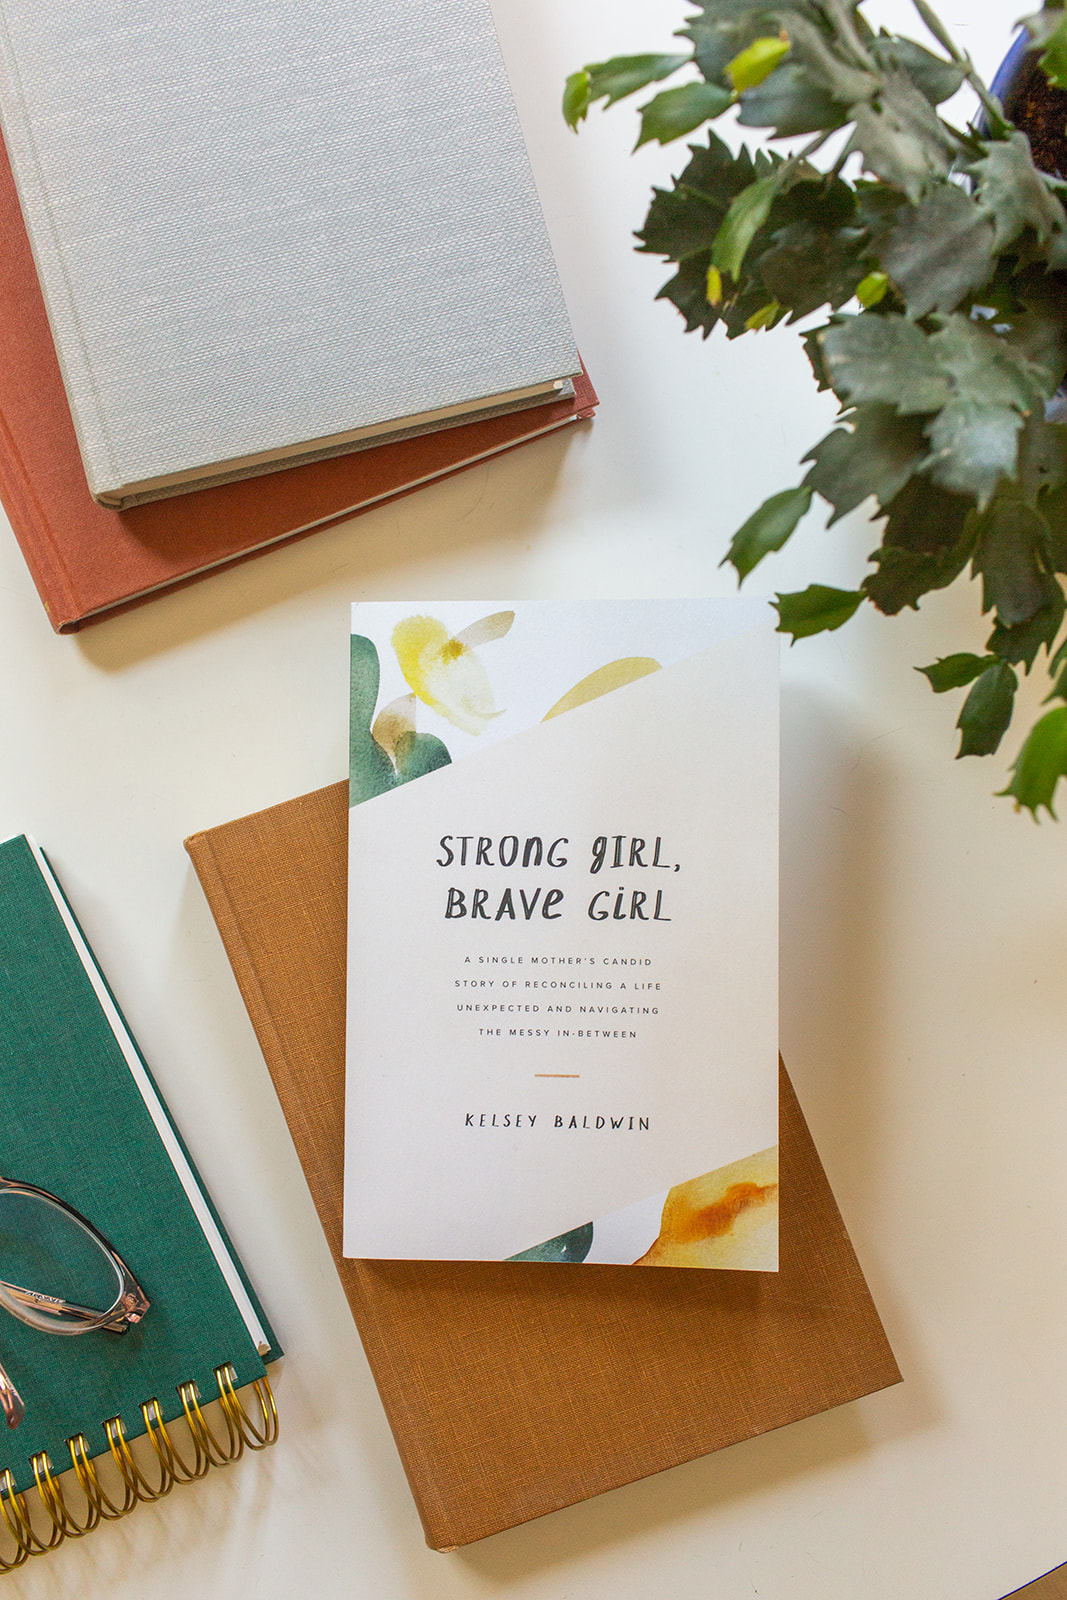
So good news, I self-published a book! I still can’t believe it’s out in the world, making it’s way into mailboxes and hanging out on nightstands and stashed in purses for carline reading. Launch week went amazing, and I’m still amazed that this little book is having such a big impact on readers, and connecting with their stories right where they’re at.
The reason I chose not to pursue traditional publishing at this time is because I would probably still be sending proposals and cover letters to agents right now, rather than seeing the real, live book sitting right here on my desk. It can take a l-o-n-g time to find the right agent, let alone a publisher, and then it can take a long time to actually go through the whole process of writing and editing and designing and more editing – all on a publisher’s timeline. This was my first book, and I didn’t know how the writing process would go (especially drumming up all the emotions with such a personal story), so I honestly wanted to do the whole enchilada on my own terms. Thus, self-publishing. And with Amazon’s Kindle Direct Publishing (KDP) — formerly called Createspace — it made the whole process way more doable and affordable.
So this will be a two part series all about my experience self-publishing with Amazon KDP. This first part will cover all the nitty gritty of getting your account set up and your book files uploaded. The second part will come in a couple weeks about after you click publish, looking at sales data, royalties, payouts, etc.
I have no affiliate relationship with Amazon or KDP or anything, this is just my honest experience with the platform, no strings attached. These posts were so helpful to me when I was looking into using KDP. And FYI, Amazon switched from Createspace to their new KDP platform in September 2018, so some resource links in this post are still hosted on the old Createspace site.
So Part 1, here we go!
creating a free account
The great thing about using Amazon KDP is that it’s a free service to set up. The only payment for their services comes when books are sold, and Amazon takes their cut. What services are they actually providing? They’re housing your book files, printing a copy on demand when an Amazon customer orders it, and shipping it out to the customer (with Prime 2-day shipping!). Not to mention just handling all the shopping cart / checkout stuff on the back end and having your book for sale on the #1 place that most readers go to buy books. It’s putting you in front of a massive audience, right along side traditionally published best-sellers, and it includes you in options for distributors to choose from for physical book stores – and a little cut of your profits is well worth that service. You can setup your free KDP account right here.
selecting settings + book details
This part I did find tricky and not super user-friendly. There is A LOT of publishing lingo on the pages where you set up your book, so this took me a lot of going through over and over to decide which parts were most important to fill in answers for. A lot of the fields on these pages are optional, so that helped at least, but I still wanted to provide as much info as possible for distributors who could potentially consider the book for retail in stores. Some fields have little popups with explanations, but honestly if I was unsure about what to select, I would leave it blank. You may have to do some googling to get through these settings!
choosing book size + paper type
One set of settings that are obviously mandatory and you should definitely think about were the book size and the paper type (both the interior paper and the cover type). And obviously – you need to nail down a book size before designing the interior or cover, so I looked a lot at these setting options before actually creating my book listing in KDP. To decide what size to make it, I pulled a ton of books off my own shelves and measured them. I picked a size that’s a little on the smaller end, because I personally prefer a smaller, thicker book than a larger, thinner book. Remember, your book dimensions will effect your page count. This is totally a personal preference thing, but remember that your book will most likely sit on a shelf, lined up with other books. You want it to fit in nicely with the others, not stick out like a sore thumb. Normally I would encourage you to do the opposite for marketing purposes — stick out, be different! But I think in this case, unless it’s a purposefully super creative book that calls for an odd size, stick to the standards here. It makes your book more appealing to distributors, too, when thinking about how the book will physically fit on a standard book shelf.
And paper type! You’ll need to set you interior paper (off-white or bright white), and your cover type (matte or glossy). I personally much prefer matte anything than glossy, so that was an easy choice for me. And again, looking at most traditionally published paperback books on my own shelf, they’re matte finishes, not glossy. And for the interior paper, again open up other books and see what they use. I think off-white is the standard used for most paperback books, and the bright white can feel a little amateur to me, personally. Another thing I did to help me decide was find videos on YouTube of all of these paper options so I could see them side-by-side. Amazon might offer samples of each type, but when I was deciding I didn’t see that option anywhere.
getting an ISBN + barcode
Amazon offers an ISBN number (I think it’s even free?), but I read on a lot of sites to buy your own ISBN separate from Amazon. If you use Amazon’s provided ISBN, they technically become like your publisher and they have exclusive rights to sell your book. This can be a problem if you ever go to sell your book on your own site or decide to re-publish with a traditional publisher. So where do you buy ISBN numbers? The one place to get them is Bowker. This is like THE database for ISBNs. Other places are probably a scam, stick with Bowker! They offer the option of buying one single ISBN, or 10 separate ISBNs for barely more money. I knew I was creating an ebook version for Kindle and that would need a separate ISBN, and I knew I would probably write more books in the future, so 10 ISBN’s made more financial sense. You can also buy a barcode through Bowker once you have your ISBN purchased. Fair warning: Bowker’s website is not at all user-friendly. Good luck, my friend. When in doubt, read everything!
Also, this article from Jodi Brandon and this article from Self-Publishing School were super helpful for this part of the process.
uploading cover + interior files
After you select your size and paper types, you’ll be ready to upload your interior and exterior files! This is the last step before publishing the live listing, yay! Be sure to use their provided template files to make sure your cover and interior dimensions are exactly right for printing. I created all of my designs using Adobe InDesign (I teach a course about using InDesign if you need help with it!), and exported them as the file types that KDP recommended. Once your files are uploaded, Amazon will scan them for any glaring errors that might come up with printing. (Note: they do NOT scan for typos or spacing issues or anything like that, you need to catch all that in your own editing process.) It usually takes them about 24 hours to approve your file, and from there you can order some physical proofs (which I definitely recommend – keep reading). The first time I uploaded my files, they noted that some small type on the title page and my running heads + page numbers were too small and may not print legibly. So I changed those in my InDesign file, re-exported, re-uploaded, and they approved the new version.
ordering physical proofs
Once your file is approved, you have the option of ordering physical test proofs and I VERY MUCH recommend you do this. I ordered five copies — one for myself, and four for other people that I asked to help me proofread. The proofs only took a few days to arrive, and it was SO helpful to see it all in physical form. I ended up adjusting some spacing and font sizing to make it ultra readable and more consistent. I also found A LOT of typos and inconsistencies in my design, so this was a good time to make those corrections before customers were ordering final copies.
creating your Kindle version
Lastly, if you want to offer an ebook version for Kindle, this is considered a separate listing on Amazon. And design-wise, Kindles can’t display all those fancy design elements in your paperback, so you’ll have to strip out a ton of the design, and basically format everything like a boring Word document. Thankfully, they offer a Kindle previewer when you upload so you can see what it’ll actually look like on a real Kindle device. I don’t have a Kindle myself, so I had to test it this way. Another warning: your InDesign file will not at all look like the final version on Kindle. You HAVE to test it out. It took me literally 17 versions to get it right. So be patient + plan extra time for this!
Also, when you first publish this Kindle version, it’ll show the book on two separate Amazon listings for the first couple days. But if you link your books on the KDP dashboard, it’ll merge them into one listing where the customer can just choose paperback or Kindle (like you see on every other Amazon book ever). It just takes a couple days to link them, so don’t freak out like I did!
Okay, you’re ready to publish this book baby of yours — that’s coming up in Part 2! Hopefully this post helps out someone out there trying to navigate all these weird sites and platforms like I was. I know this isn’t super specific, but I’ve literally done this one time for one book, so I don’t feel qualified to go into more detail than this 😉
And if you want to order a copy of my first book, Strong Girl, Brave Girl, click here!
Your turn
Do you have any experience with Amazon KDP or Createspace? What did you think of the process? Did your brain explode a few times like mine did?
Can I send you the Introduction?
Signup below and I'll send you the full Introduction from Strong Girl, Brave Girl, plus I'll keep you in the loop with the latest book news and how to order your own copy. (Or you can just do that now.)


